Understanding the Importance of the W10161215 Lower Dishrack
The W10161215 lower dishrack is a critical component in Whirlpool dishwashers, designed to optimize the cleaning efficiency of your dishware. Not only does it help organize your dishes, but it also plays a vital role in the overall performance of the dishwasher. In this article, we will explore the features of the W10161215 lower dishrack, how to install it, and essential maintenance tips to ensure your dishwasher remains in top condition.
Features of the W10161215 Lower Dishrack
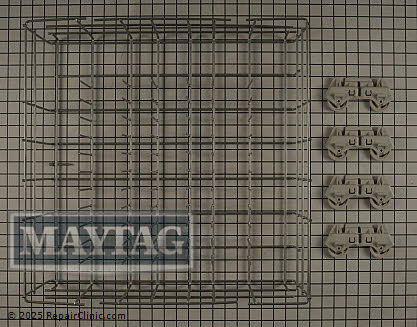
The W10161215 lower dishrack boasts several notable features that distinguish it from other models. First and foremost, it is designed specifically for Whirlpool dishwashers, ensuring a perfect fit and compatibility. This easy-to-install rack provides the support needed for heavy pots and pans while allowing secure placement of smaller dishes.
One of its standout qualities is the robust construction. The material used in the construction of the W10161215 is durable and resistant to rust and corrosion, which is essential for long-term efficiency. The dishrack includes adjustable tines that can be repositioned to accommodate different types of dishes, making it versatile for various washing needs.

Installation of the W10161215 Lower Dishrack
Installing the W10161215 lower dishrack is a straightforward process that can be completed with minimal tools and effort. Here are the step-by-step instructions for a successful installation:
- Preparation: Before starting the installation, ensure that the dishwasher is unplugged or that the power supply is disconnected to prevent any accidents.
- Remove the Old Dishrack: Open the dishwasher door and pull out the old lower dishrack. Depending on the model, you may need to lift it slightly to remove it from the tracks.
- Place the New Dishrack: Align the W10161215 lower dishrack on the tracks located at the bottom of the dishwasher. Make sure it clicks into place securely.
- Test the Installation: Gently push the dishrack back and forth to ensure it moves smoothly. It should not wobble or feel loose.
- Reconnect Power: Once you are satisfied with the installation, reconnect the power supply and run a short cycle to test the new dishrack.
Maintenance Tips for the Lower Dishrack
To extend the life of your W10161215 lower dishrack and maintain optimal performance of your dishwasher, regular maintenance is essential. Here are some tips:
- Regular Cleaning: Periodically remove the dishrack and clean it with warm soapy water to remove any food debris or grease buildup. This will prevent clogs and ensure cleanliness.
- Inspect for Damage: Regularly check for any signs of damage or wear on the dishrack. If you notice any cracks or breaks, consider replacing it to maintain the dishwasher’s performance.
- Adjust Tines as Needed: The adjustable tines should be repositioned based on the types of dishes you wash. Make sure to secure them in place to avoid any shifting during the wash cycle.
- Ensure Proper Loading: Avoid overloading the dishrack to maintain water flow and cleaning efficiency. Securely place dishes and avoid blocking the spray arms.
Conclusion
The W10161215 lower dishrack is an essential part of your Whirlpool dishwasher, significantly contributing to its efficiency and your overall dishwashing experience. Understanding its features, installation, and maintenance can help ensure that your dishwasher performs at its best for years to come. With proper care, the W10161215 will serve you well, making your dishwashing tasks easier and more effective.